
A Practical Guide to Your DIY Solar Home
For the hands-on homeowner or aspiring installer, building a DIY solar home system is the ultimate act of energy independence. This guide provides a direct, no-fluff roadmap to navigate the critical decisions of a DIY solar project—from an honest self-assessment to system sizing and safe installation. The real-world outcome? You'll walk away with a clear plan, understand the common pitfalls, and know whether taking control of your power is the right move for your project and budget.
Deciding If a DIY Solar Home Fits Your Goals
Before ordering panels or inverters, conduct a serious reality check. Does a DIY solar project align with your skills, timeline, and financial readiness? This isn't just about saving on labor; it's about managing a complex construction and electrical project from start to finish.
The primary driver for most is cost savings. By sourcing your own equipment and providing the labor, you can reduce the total project cost by 20-30% over a turnkey professional installation. This significantly shortens the system's payback period. The trade-off is that you are the project manager, installer, and troubleshooter.
Key Considerations for the DIY Homeowner
- Skill Assessment: Are you proficient with power tools, comfortable working at heights on your roof, and do you understand fundamental electrical concepts? While many DIYers hire a licensed electrician for the final grid tie-in, you will be responsible for the mechanical mounting and the bulk of the wiring. This requires precision and a strict adherence to safety protocols.
- Time Commitment: A DIY solar installation is not a weekend project. Realistically budget several weeks or even a couple of months for research, system design, permitting, installation, inspections, and commissioning. Unexpected delays are common.
- Financial Readiness: While cheaper overall, the upfront capital for components—panels, racking, and inverters from brands like Sungrow or Fronius—is substantial. You must budget meticulously for every component, from the largest panel down to the last bolt and wire nut.
Expert Tip: The most effective first step for any solar project—DIY or professional—is to reduce your home's energy consumption. An energy-efficient home requires a smaller, less expensive solar system to meet its needs. Before sizing your system, implement energy-saving measures.
For actionable strategies, see this guide on How To Reduce Energy Consumption In Your Home.
Beyond the Bottom Line
The benefits extend far beyond initial savings. A properly designed DIY solar system delivers true energy resilience. By integrating battery storage from a trusted brand like FranklinWH, your home can maintain power during grid outages, providing critical security and peace of mind. Furthermore, a professionally installed solar system adds tangible value to your property. This guide will provide the framework to determine if this challenging but rewarding path is right for you.
Performing Your Own Solar Site Assessment

Before you touch a single component, a thorough site assessment is the bedrock of a successful DIY solar project. Skipping or rushing this step is the single biggest cause of undersized systems, unexpected costs, and poor performance. This is your first and most critical phase of project management.
Evaluating Roof Health and Structure
Your roof will support a power generation asset designed to last 25 years or more. Confirming its structural integrity is non-negotiable.
First, assess the age and condition of your roofing material. If you have an asphalt shingle roof nearing the end of its 15-20 year lifespan, it must be replaced before the solar installation. The cost of removing and reinstalling a solar array to accommodate a future re-roofing project is prohibitively expensive and entirely avoidable.
Next, inspect the roof structure from the attic. Look for any signs of sagging rafters, water damage, or deteriorated sheathing. Due to the critical nature of this step, we strongly recommend a professional roofing inspection service to provide a certified assessment. This small upfront cost prevents catastrophic failures later.
Mapping Solar Access and Shading
Maximum energy production is a direct function of unobstructed sunlight. Your goal is to identify the sections of your roof with the highest solar access, or "sun hours."
Begin with your roof's orientation. In the Northern Hemisphere, a south-facing roof provides the best annual production. However, east- and west-facing roofs are also highly effective, as they generate power during morning and afternoon peak usage hours.
Shade is the primary enemy of solar production. Methodically identify and map any potential obstructions:
- Trees: Assess their current and future growth patterns. A small tree today can become a major source of shade in 5-10 years.
- Chimneys and Vents: Even minor obstructions can significantly reduce output, especially with string inverters where one shaded panel degrades the performance of the entire string.
- Neighboring Structures: Consider the shadows cast by adjacent buildings, especially during winter months when the sun is lower in the sky.
Pro Tip for Installers and Homeowners: Use a solar pathfinder smartphone app. These tools leverage your phone's camera and GPS to accurately map the sun's path across your roof for any day of the year, precisely identifying potential shading issues that might otherwise be missed.
Conducting Your Home Energy Audit
You cannot design a system without knowing your energy target. Your utility bills are the definitive source of truth for this calculation.
Gather a full 12 months of electric bills to account for seasonal variations in usage. Identify your total kilowatt-hour (kWh) consumption for each month and sum them to find your total annual usage. This number is the cornerstone of your entire system design, dictating the required array size, inverter capacity, and battery storage needs. Accurate data here prevents the costly mistake of improper system sizing.
Sizing and Selecting Your Solar Components
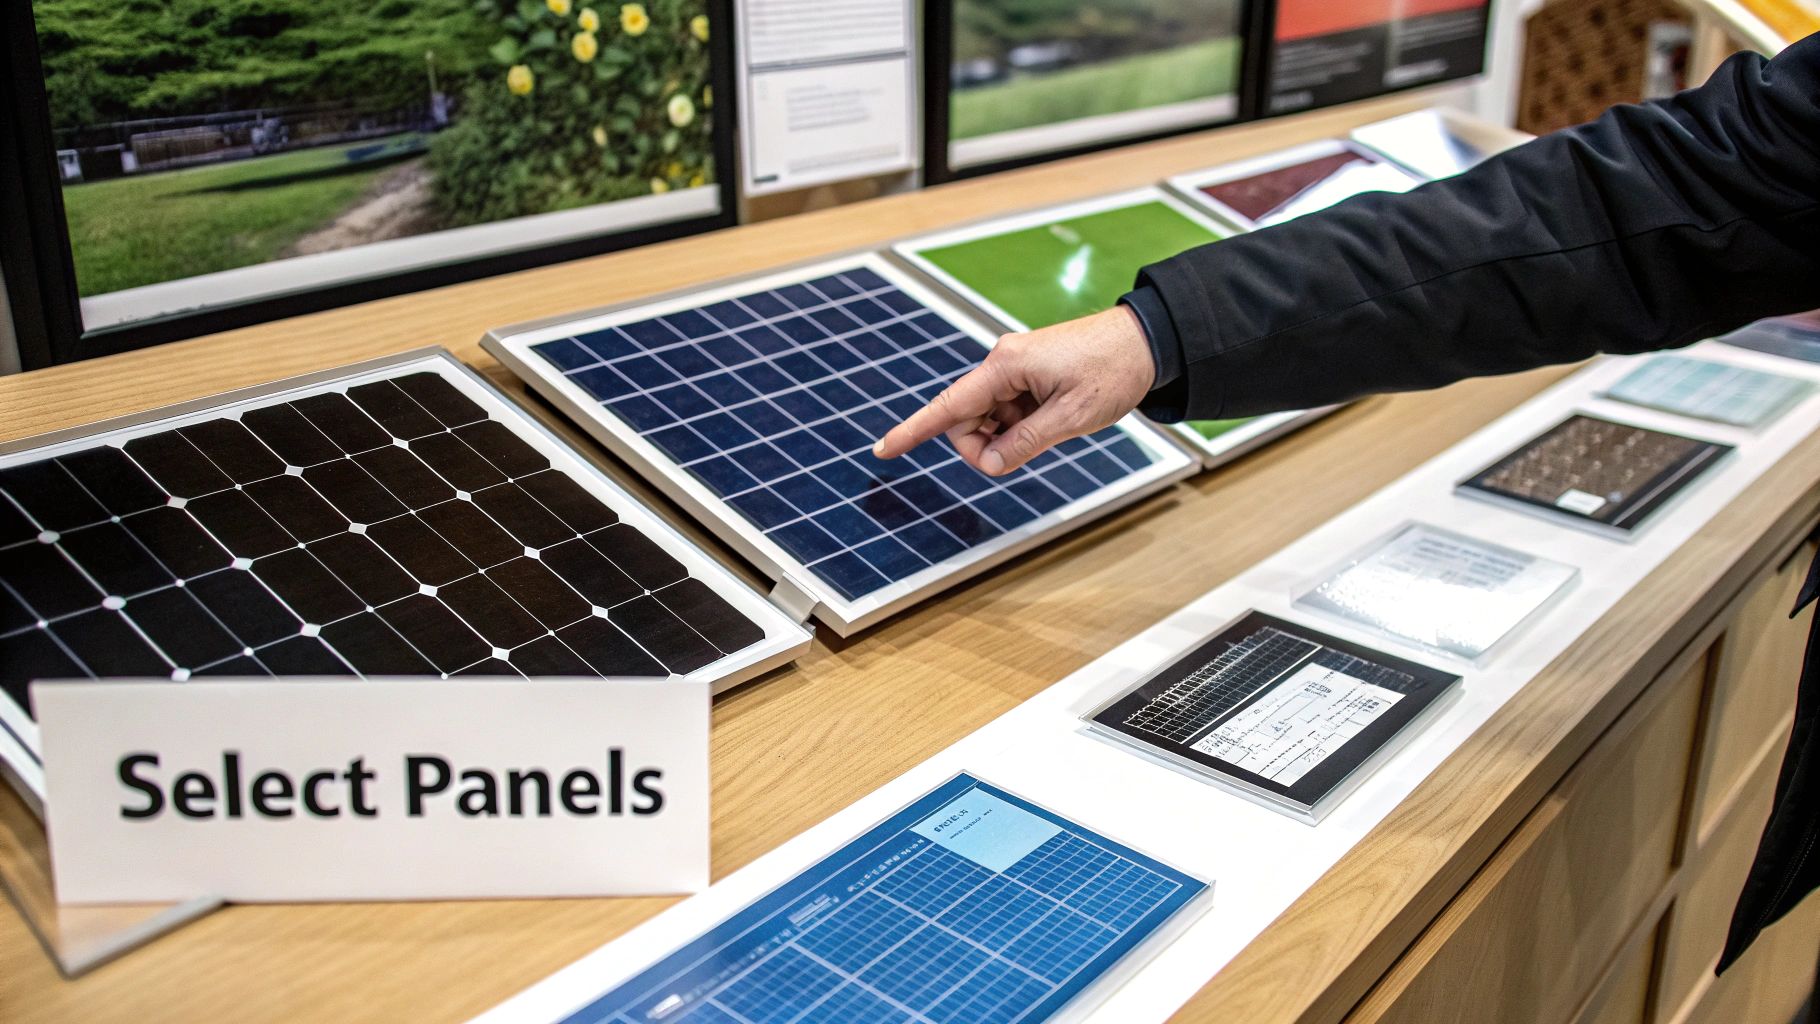
With your site assessment and energy audit data in hand, you can now build your Bill of Materials (BOM). Selecting the right hardware is critical to ensuring your system meets performance goals, complies with electrical codes, and operates safely for decades.
This is more than a simple calculation; it’s about understanding the interplay between components to build a cohesive, efficient system.
As shown, your home's actual energy consumption is the foundation for every equipment decision.
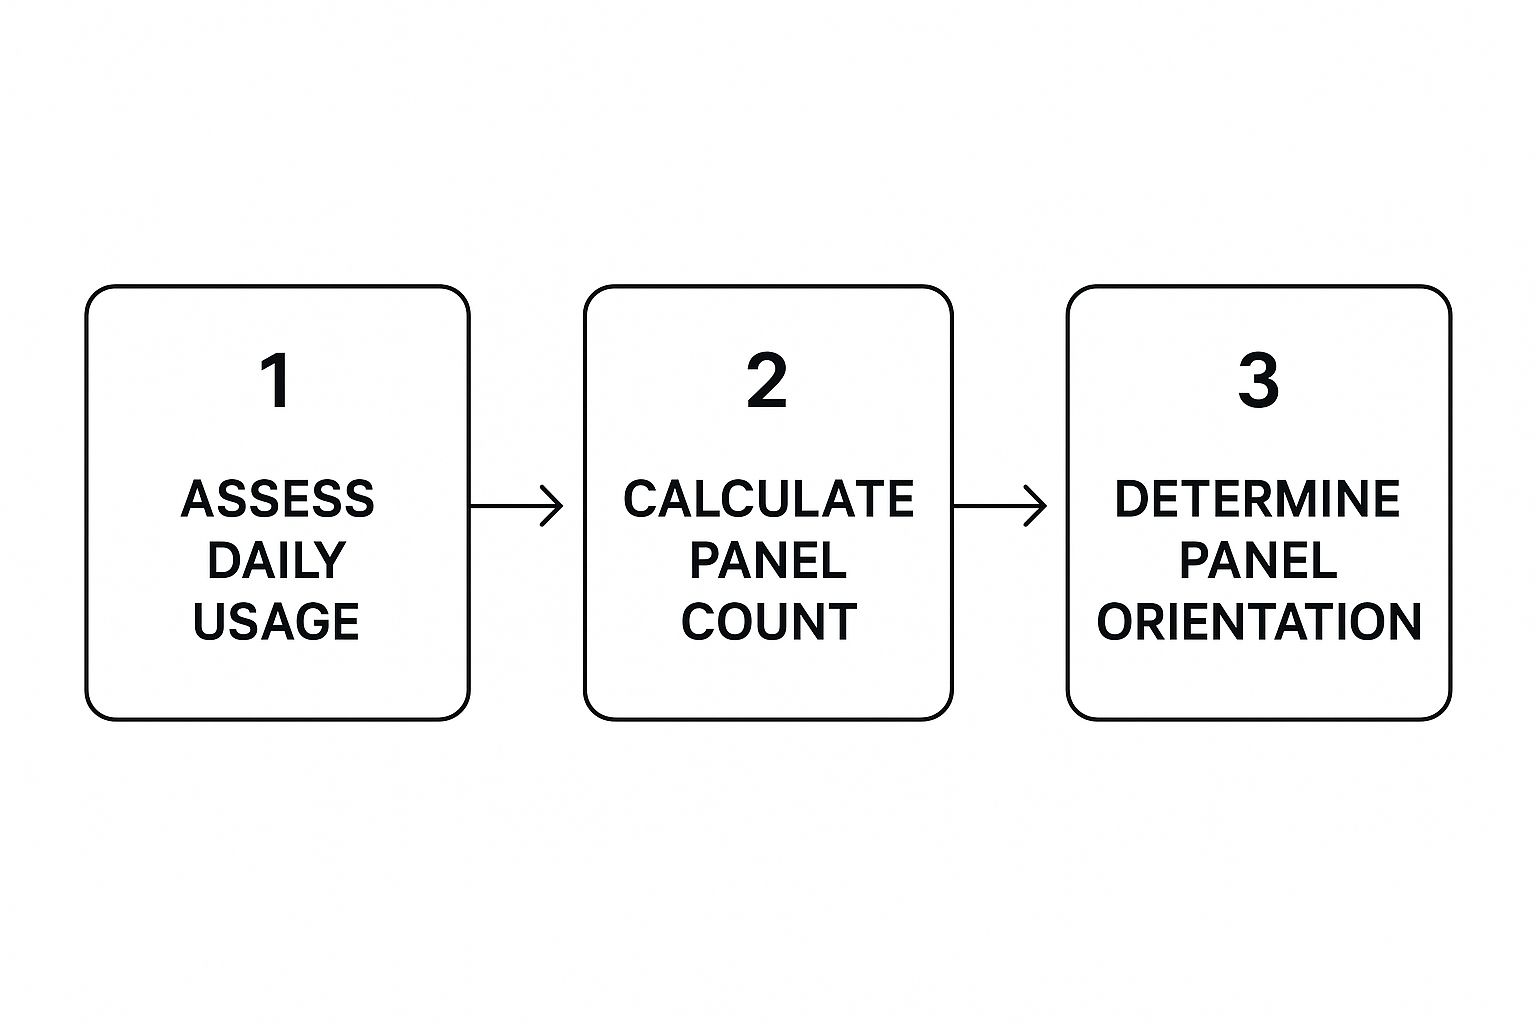
From Energy Audit to Solar Array Size
Your annual kWh consumption is the production target. The first step is to translate this into a required solar array size in kilowatts (kW).
Use this baseline formula:
Annual kWh Usage / Average Peak Sun Hours per Day / 365 Days = Required DC System Size (kW)
For example, a home using 12,000 kWh annually in a location with 4.5 peak sun hours would calculate as follows: 12,000 kWh / 4.5 / 365 = 7.3 kW. This indicates the need for a solar array with a DC nameplate rating of approximately 7.3 kW.
However, this is an ideal scenario. Real-world systems experience losses from factors like panel degradation, wiring resistance, and inverter inefficiency. To compensate, a best practice is to oversize the array by 15-25% to ensure you consistently meet or exceed your energy production targets.
The Great Inverter Debate: String vs. Microinverters
The inverter is the brain of your system, converting the DC power from your panels into usable AC power for your home. Your choice between string inverters and microinverters will significantly impact system performance, cost, and installation complexity.
String Inverters (e.g., Sungrow, Fronius)
- How they work: Multiple panels are wired in a series ("string") that feeds DC power to a single, centralized inverter.
- Best for: Simple, unobstructed roofs facing a single direction. They are generally the most cost-effective option.
- Critical Mistake: If one panel in a string is shaded or underperforms, it reduces the output of the entire string.
Microinverters (e.g., Enphase)
- How they work: Each panel is equipped with its own small inverter, making every panel an independent power producer.
- Best for: Complex roofs with multiple orientations or intermittent shading issues. They maximize energy harvest from each panel.
- The catch: Higher upfront cost per watt and more electronic components on the roof, which can increase potential points of failure over the system's life.
For the DIY Homeowner: For a simple, shade-free roof, a high-quality string inverter from a trusted brand like Sungrow offers excellent value. For more complex roofs, the additional investment in microinverters will pay dividends through increased energy production over the life of the system.
Decoding Spec Sheets for Panels and Batteries
When reviewing technical spec sheets, focus on the key performance indicators.
For solar panels, prioritize efficiency (power output per square meter), temperature coefficient (performance loss in high heat), and the manufacturer's warranty. Higher efficiency panels produce more power in a smaller footprint. To learn more, explore our comprehensive guide on solar panels.
For batteries, such as those from FranklinWH, the critical specs are:
- Capacity (kWh): Total energy storage.
- Depth of Discharge (DoD): The percentage of total capacity that can be safely used. A 10 kWh battery with a 90% DoD provides 9 kWh of usable energy.
- Round-trip Efficiency: The ratio of energy out to energy in. A higher number is more efficient.
Solar Component Sizing Quick Reference
This table offers a starting point for sizing your main components. These are estimates and must be refined based on your specific location, climate, and energy goals.
| Daily kWh Use | Recommended Solar Array Size (kW) | Recommended Inverter Size (kW) | Recommended Battery Bank Size (kWh) |
|---|---|---|---|
| 15-20 kWh | 4-6 kW | 5-8 kW | 10-15 kWh |
| 20-30 kWh | 6-9 kW | 8-12 kW | 15-20 kWh |
| 30-40 kWh | 9-12 kW | 12-15 kW | 20-30 kWh |
| 40-50 kWh | 12-15 kW | 15+ kW | 30+ kWh |
A non-negotiable rule: all selected components must be UL-listed and verified for compatibility. This is mandatory for safety, code compliance, and passing inspection under the National Electrical Code (NEC). The residential solar market was valued at USD 55 billion in 2023 and continues to grow, driven by advancing technology and homeowner demand.
Navigating Local Permits and Compliance
For many DIYers, navigating the permitting process is more intimidating than the physical installation. However, with proper preparation, it can be a smooth and predictable process. Your local Authority Having Jurisdiction (AHJ)—typically the city or county building department—is a partner in ensuring your diy solar home system is safe and code-compliant. A professional and complete submission package is the key to a successful outcome.
Assembling Your Permit Application Package
A rushed or incomplete application is the fastest way to get rejected. Your permit package must demonstrate that you have designed a safe and compliant system.
The core required documents typically include:
- A Single-Line Diagram (SLD): This is the electrical schematic for your system, showing how all components are interconnected. It must specify wire sizes, breaker ratings, disconnect locations, and grounding details.
- A Site Plan: This is an overhead view of your property, indicating the precise location of the solar array on the roof, as well as the locations of your main service panel, utility meter, and other major electrical equipment.
- Equipment Spec Sheets: You must include the official manufacturer specification sheets for your solar panels, inverter, and racking system. This proves to the AHJ that your chosen components are UL-listed and meet all required safety standards.
Pro Tip: Unless you are a professional engineer or drafter, do not attempt to create the Single-Line Diagram yourself. Many reputable solar equipment suppliers, like Portlandia Electric Supply, can assist in generating a code-compliant SLD based on your final Bill of Materials, saving significant time and preventing common errors.
Understanding Key NEC Compliance Issues
The entire project must adhere to the National Electrical Code (NEC). The inspector will focus on several critical safety areas during the final inspection.
A primary area of focus is NEC 690.12 Rapid Shutdown. This code requires a means to rapidly de-energize the DC conductors on the roof, a critical safety feature for firefighters. Your inverter choice is fundamental to meeting this requirement. Our guide on selecting the right solar inverter provides a detailed breakdown of compliance strategies.
Proper equipment grounding is another non-negotiable. The entire system—including panels, racking, and inverter—must be correctly bonded and grounded to protect against electrical faults and lightning strikes.
The U.S. residential solar market added 1,106 MWdc of capacity in Q1 2025. While market dynamics shift, the underlying trend of homeowner adoption remains strong. You can read the full market insight report for more data.
Communicating with Your Utility
In addition to your building permit, you need an Interconnection Agreement from your local utility. This is the contract that grants you permission to connect your system to the grid and enables you to receive credits for excess energy production through programs like net metering.
Initiate this process early. Utilities have their own distinct application processes and technical requirements. Proactive and professional communication is essential for a seamless grid-tie process, which is the final step in commissioning your DIY solar home.
Your Guide to Safe Installation and Commissioning

This is where your design becomes reality. The installation phase demands a combination of heavy mechanical work and precise electrical execution. Safety is the absolute priority. A successful diy solar home installation is not only productive but is fundamentally safe for you, your property, and utility personnel.
The process is broken down into two main phases: the mechanical installation of the racking and panels, and the critical electrical wiring. This is followed by a methodical commissioning process to ensure system integrity before energizing.
The Mechanical Build: Securing Your Array
The mechanical installation creates the foundation for your solar array. Begin by precisely locating and marking the roof rafters. Racking feet must be secured directly into these structural members, never just the roof sheathing, to withstand wind and snow loads for decades.
Properly flash every roof penetration to prevent leaks. The standard procedure involves drilling pilot holes into rafters, injecting a high-quality sealant, installing the flashing, and then driving lag bolts to secure the stanchions. Rushing this step will lead to costly water damage.
Once the stanchions are secure, install the rails. Ensure they are perfectly level and square before mounting any panels.
Critical Safety Protocol: Always use a properly anchored fall protection harness when working on a roof. Never work alone, and avoid installation during wet or windy conditions. Personal safety is more important than any project timeline.
The Electrical Work: Wiring for Power and Safety
With the mechanical structure in place, the electrical work begins. This requires intense focus and adherence to code. You will be working with high-voltage Direct Current (DC), which poses significant electrical shock hazards if handled improperly.
Mount your inverter and any associated disconnects or combiner boxes. As you place each panel on the racking, connect the MC4 connectors between them to build the strings according to your single-line diagram.
All exterior wiring must be run through code-compliant conduit. Secure all wires neatly to prevent abrasion and ensure long-term reliability. Poor wire management and loose connections are primary causes of system failure and fire risk.
The DIY approach to energy is a significant market trend. The residential solar generator market, which includes many DIY storage systems, is projected to grow from USD 513.7 million in 2025 to USD 1.38 billion by 2035. You can discover more insights about these residential solar market trends.
Commissioning Your System
After the installation passes inspection, you can proceed with commissioning. This is a systematic series of tests to verify safety and functionality before the system goes live. For more context on how these components form a complete system, see our guide on solar energy solutions.
Your commissioning checklist must include:
- Voltage Checks: Use a multimeter to confirm the open-circuit voltage (Voc) of each string is within the inverter's specified input range.
- Polarity Tests: Meticulously verify that all positive and negative connections are correct before energizing the inverter.
- Torque Verification: Use a calibrated torque wrench to tighten every electrical lug in the inverter, disconnects, and service panel to the manufacturer's exact specifications.
Once these checks are complete, follow the manufacturer's startup procedure, typically energizing the AC disconnect first, followed by the DC disconnect. The inverter will perform a self-test, synchronize with the grid, and begin producing power. The final step is to configure your monitoring system to track your DIY solar home's performance.
Common Questions About DIY Solar Homes
Embarking on a diy solar home project naturally raises many questions. From potential savings to critical mistakes to avoid, here are direct answers to the most common queries we receive from homeowners and installers.
How Much Money Can I Realistically Save?
Your savings will vary based on local utility rates, system size, and your site's solar access. A well-designed system can offset 70-100% of your electricity bill. The primary financial benefit of DIY is eliminating installation labor costs, which typically account for 20-30% of a professionally installed system's price. However, you must budget for necessary tools and potential rework. The federal Investment Tax Credit (ITC) and local incentives can further accelerate your return on investment.
To get a precise, data-driven analysis of your potential savings, use our "Submit My Bill" feature. We'll provide a custom report based on your actual energy consumption and local rates.
What Are the Most Common DIY Mistakes?
Several avoidable errors can jeopardize a DIY project. The most frequent pitfalls include:
- Incorrect System Sizing: Designing a system based on incomplete energy data or optimistic assumptions inevitably leads to an undersized system that fails to meet expectations.
- Ignoring Permits and Codes: Bypassing the permitting process is a critical error that leads to failed inspections, costly rework, and potential orders to decommission the system.
- Subpar Electrical Work: Improper grounding, loose connections, or undersized wiring are serious fire and safety hazards. DC electricity is unforgiving.
- Causing Roof Leaks: Failing to properly flash and seal every roof penetration is a direct path to water damage and expensive structural repairs.
Always default to the National Electrical Code (NEC) standards. If any step, particularly the electrical tie-in, feels beyond your expertise, hire a licensed professional.
Can I Add a Battery for Backup Power Later?
Yes, but it is far more efficient and cost-effective to plan for storage from the outset.
If you anticipate adding batteries in the future, install a "hybrid" or "storage-ready" inverter from the start. These inverters are designed for seamless battery integration. Adding batteries to a standard grid-tie inverter later requires a more complex and expensive process known as AC coupling, which involves a second, battery-specific inverter and additional hardware. Brands like FranklinWH and Sungrow offer excellent modular systems that allow you to install a storage-ready inverter now and add batteries when your budget allows.
Do I Need a Professional for the Final Grid Connection?
In almost all jurisdictions in the United States, the answer is yes. This is a firm requirement from local utilities.
While you can perform all the mechanical and most of the electrical work, the final interconnection to the utility grid must be completed or signed off by a licensed electrician. This is a critical safety and liability measure to protect grid integrity and utility line workers. We strongly advise engaging with a solar-experienced electrician early in your planning phase to review your design and ensure a smooth final sign-off.
Ready to turn your plans into a project? From NABCEP-certified design help to sourcing every last component, Portlandia Electric Supply is your partner for a successful DIY solar installation. We provide the professional-grade equipment and expert guidance you need.