
Solar Energy System Components: A Guide for Installers & EPCs
A solar energy system is far more than just the panels on a roof. For installers, EPCs, and developers, it's a complete power plant where every component—from solar panels and inverters to racking—has a critical job. This guide provides a no-fluff breakdown of the core solar energy system components, arming you with the practical knowledge to design, specify, and build systems that are efficient, compliant, and profitable. We'll move beyond generic specs to focus on the real-world decision points you face on every project.
Decoding the Solar Energy Ecosystem
Making smart procurement and design decisions starts with a clear understanding of the power flow. Each piece of hardware plays a specific role, and its performance directly impacts the system's efficiency, safety, and the project's return on investment. This guide breaks down the core solar energy system components, walking you through the function of each part from the moment sunlight hits a panel to the final flip of a light switch.
This isn't just academic. The industry is booming. The global solar energy systems market, currently valued at around USD 201.7 billion, is expected to explode to USD 590.8 billion by 2033. That's a staggering 12.7% compound annual growth rate, fueled by improving technology and relentless demand for clean power. You can read the full research on global solar market growth to see just how massive this opportunity is.
Primary Solar Energy System Components and Their Functions
This table offers a quick summary of the main components in a solar energy system and the role each one plays in generating and delivering power.
| Component | Primary Function | Key Consideration for Installers/EPCs |
|---|---|---|
| Solar Panels | Capture sunlight and convert it into DC electricity. | Efficiency, wattage, and temperature coefficient are crucial for maximizing generation and meeting project ROI. |
| Inverters | Convert DC power from the panels into usable AC power. | Compatibility with panels, battery systems, and grid codes (like UL 1741) is non-negotiable. |
| Racking/Mounting | Securely attach solar panels to the roof or ground. | Must be engineered for local wind/snow loads (ASCE 7) and compatible with the roof type to ensure structural integrity. |
| Battery Storage | Store excess solar energy for use at night or during outages. | Sizing the battery (kWh) correctly to meet client backup and self-consumption needs is key to project success. |
| Monitoring System | Track energy production and system performance in real-time. | Provides essential data for diagnostics, O&M, and proving ROI to the client. |
Each of these parts is a critical link in the chain. A failure or poor choice in one area can compromise the entire system.
The Core Workflow of a Solar System
At its heart, a solar system's job is simple and follows a clear three-step workflow: generation, conversion, and distribution.
- Generation: It all starts with the solar panels (or PV modules). They capture photons from sunlight and, through the photovoltaic effect, generate Direct Current (DC) electricity.
- Conversion: That raw DC power is then sent to an inverter, which is the brains of the operation. The inverter converts the DC electricity into Alternating Current (AC) power—the standard electricity that runs everything in our homes and businesses.
- Distribution & Storage: From the inverter, the usable AC power flows into the building’s main electrical panel to power appliances. If the system is generating more power than is being used, the excess can be sent into a battery system for later or exported back to the utility grid.
This process map really clarifies how everything connects.
As you can see, the DC power from the panels is the essential input for the inverter, and the inverter's AC output is what makes everything else—from charging a battery to powering a fridge—possible.
Why Integration Matters
A successful solar project isn't about cherry-picking the "best" individual components off a shelf. It’s about building a cohesive system where every part works in perfect harmony. A top-of-the-line, high-efficiency solar panel is only as good as the inverter it's paired with. If the inverter can't handle the panel's output effectively, you've just wasted money and potential.
For Installers & EPCs: Getting the system integration right is non-negotiable. Mismatched components are a recipe for underperforming systems, serious safety hazards, and failing inspections based on standards like the National Electrical Code (NEC). A holistic design approach from day one is the only way to guarantee reliability, safety, and a happy client.
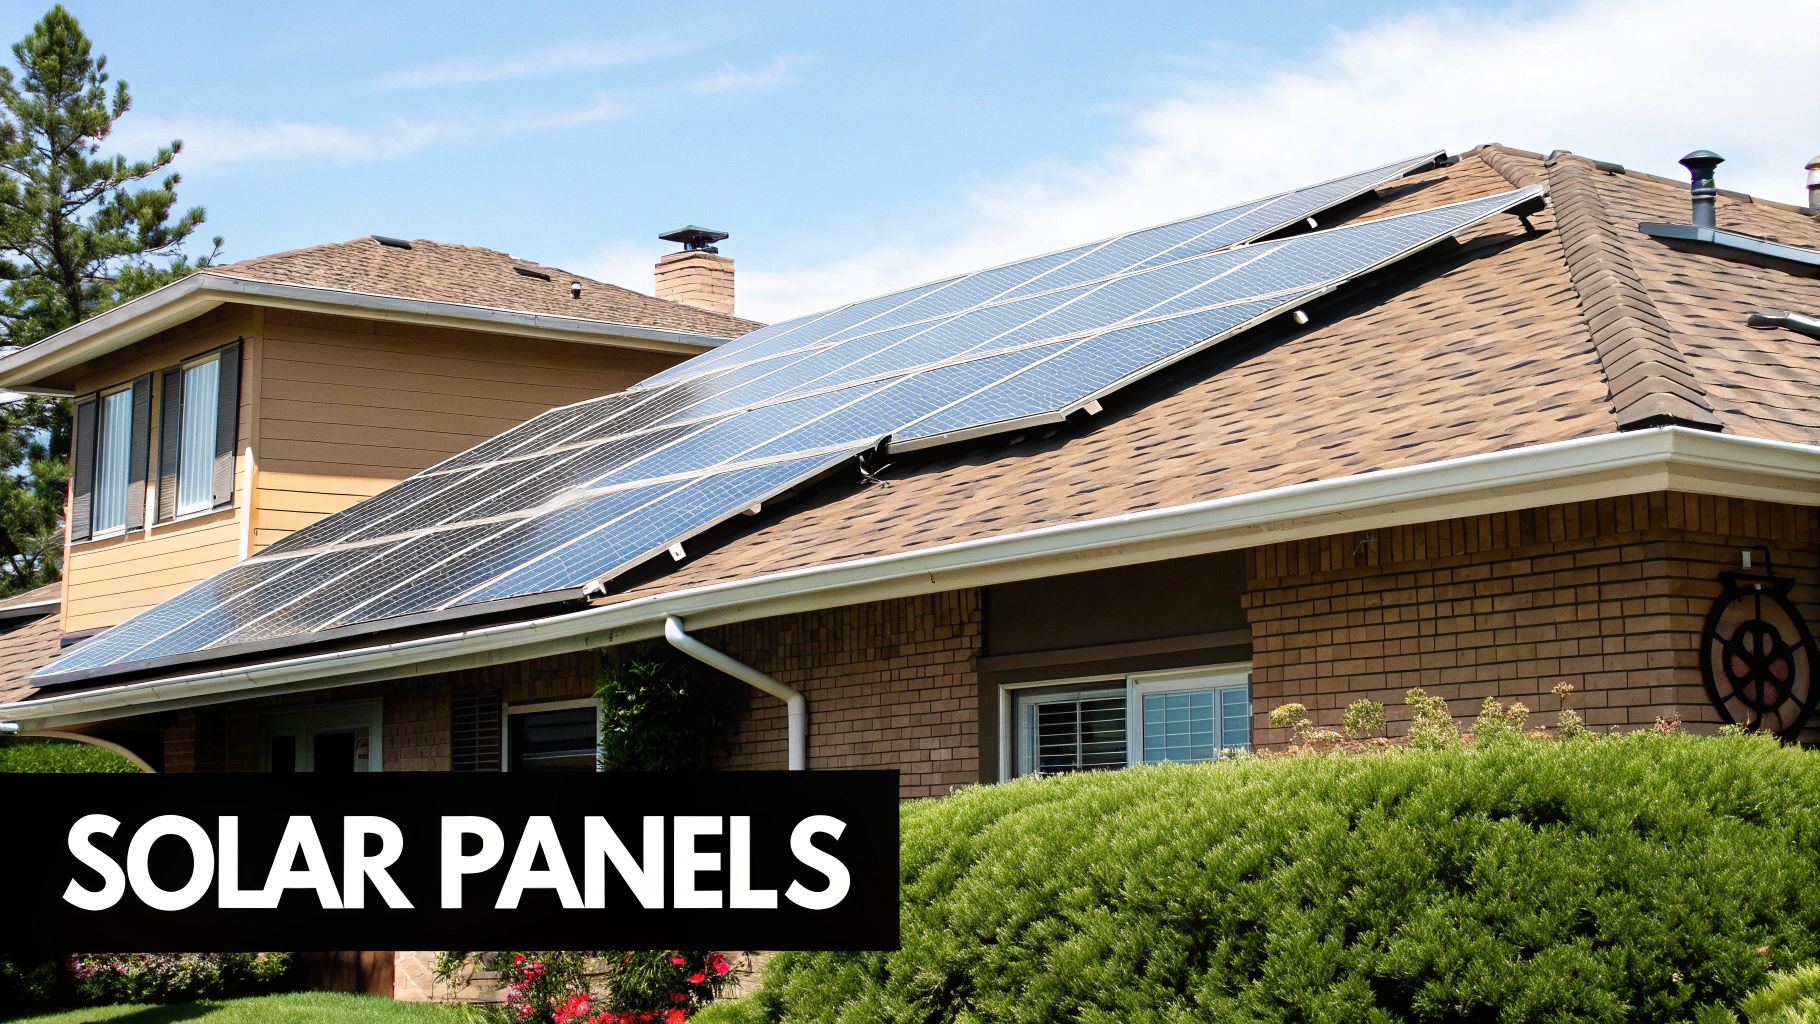
Solar Panels: The Engine of Your System
When you picture a solar energy system, the first thing that comes to mind is almost always the panels. These photovoltaic (PV) modules are the most visible component and the true workhorse of any installation, responsible for capturing sunlight and kicking off the entire energy generation process.
But here's something seasoned pros know: not all panels are the same. The technology packed into each module is what really determines its performance, cost, and whether it’s the right fit for a specific job.
Getting a handle on the differences is key. Your choice of panel directly influences everything that follows, from the layout and number of modules needed to the total cost of the racking, wiring, and other Balance of System (BOS) components.
Monocrystalline vs. Polycrystalline vs. Thin-Film
The market is dominated by three main panel technologies, each with its own clear trade-offs. The right choice always comes down to the project's goals—are you trying to squeeze every last watt out of a tight residential roof, or are you covering a massive commercial warehouse as cost-effectively as possible?
- Monocrystalline Panels: Instantly recognizable by their sleek, uniform black look, these panels are crafted from a single, pure silicon crystal. This purity gives them the highest efficiency, meaning they convert more sunlight into electricity. They are the go-to choice for projects with limited space because you need fewer of them to hit your power target.
- Polycrystalline Panels: With their signature blue, marbled appearance, these panels are made by melting down multiple silicon fragments. They're a bit less efficient than their monocrystalline cousins but are generally cheaper to make. This makes them a great, budget-conscious option for larger installs where you have plenty of room to work with.
- Thin-Film Panels: This technology is a different beast altogether, created by depositing a razor-thin layer of photovoltaic material onto a surface like glass or metal. While they have the lowest efficiency, they're also lightweight, flexible, and perform better in low-light conditions. You'll often see them in specialized, niche applications.
To put the market in perspective, we're talking about a global industry valued at roughly USD 130.37 billion that's expected to balloon to USD 377.79 billion by 2034. That explosive growth is overwhelmingly fueled by breakthroughs in monocrystalline tech, which just keeps getting more efficient and affordable.
Choosing the right panel type is fundamental for designing an effective solar system. The table below breaks down the core differences to help guide your decision-making process, whether you're working on a residential rooftop or a utility-scale solar farm.
Comparison of Solar Panel Technologies
| Technology Type | Average Efficiency | Cost Profile | Best Application (Residential, Commercial, Utility) | Key Differentiator |
|---|---|---|---|---|
| Monocrystalline | 18% - 23% | High | Residential, Commercial | Highest efficiency and power density; ideal for limited space. |
| Polycrystalline | 15% - 18% | Medium | Commercial, Utility | Excellent balance of cost and performance for large-scale projects. |
| Thin-Film | 10% - 13% | Low | Niche Commercial, Utility | Superior performance in low light and high heat; lightweight and flexible. |
Each technology offers a distinct value proposition. Monocrystalline panels deliver premium performance where every square foot counts, while polycrystalline provides a cost-effective solution for sprawling arrays. Thin-film, though less common, solves unique challenges where standard rigid panels won't work.
Key Specifications for Professionals
For installers and developers, the conversation quickly moves beyond basic types and into the nitty-gritty of the spec sheet. This is where you find the data that drives accurate project modeling and ensures a solid long-term ROI.
Pro Tip for EPCs and Installers: Pay close attention to the temperature coefficient. A lower number here is better, as it means the panel loses less power in the summer heat. This is a massive factor in warmer climates and can be the difference between hitting your production estimates and falling short.
Beyond that, here are a couple of other critical specs to watch:
- Power Tolerance: This tells you how much a panel's actual output can vary from its nameplate rating. A tight, positive tolerance (like +5/-0%) is a guarantee that you're getting at least the wattage you paid for, and maybe a little extra.
- Degradation Rate: Every panel loses a tiny bit of efficiency each year. A lower annual degradation rate means more power production over the system's 25+ year lifespan, which translates directly to more savings.
The Rise of Advanced Panel Technologies
The solar industry never stands still. We're seeing next-gen technologies like Tunnel Oxide Passivated Contact (TOPCon) modules move from the lab to the mainstream. These advanced N-type cells boast higher efficiencies and lower degradation rates than older PERC cells, squeezing even more power out of the same physical footprint.
This isn't just about impressive numbers on a data sheet. For commercial and utility-scale projects, higher-efficiency modules can dramatically lower your BOS costs. Think about it: if each panel produces more power, you need fewer panels, less racking, less wire, and less labor to hit your megawatt target. That's a direct boost to the project's bottom line.
When you're sourcing modules, it pays to stay on top of the latest offerings. Before making a final decision, be sure to check out our guide on the best solar panel brands to compare the newest tech and find the perfect fit for your project.
Solar Inverters: The Brains of the Operation
If solar panels are the heart of a system, pumping out raw energy, then the inverter is the brain. It performs the single most critical job in the whole setup: converting the Direct Current (DC) power from the panels into Alternating Current (AC) power.
Why does this matter? Because everything in your home—from the coffee maker to the TV—runs on AC power. It's also the only type of electricity the utility grid will accept. Without an inverter, all that solar energy is useless.
Choosing the right inverter is one of the most important decisions an installer makes. It dictates the system's overall efficiency, how it handles real-world problems like shading, and whether you can easily add batteries down the road. A cheap or poorly matched inverter can strangle the output of even the best panels, killing a project's ROI before it's even switched on.
The Three Main Flavors of Inverter Technology
You need to know how different inverters work to design a system that actually delivers on its promises. The best choice always comes down to the job site, the budget, and what the customer wants to achieve long-term.
For professionals, this isn't about picking a favorite brand; it's about matching the right tool to the specific challenges of the project. There are three main technologies to choose from:
- String Inverters: These are the classic workhorses of the solar world. They work by linking a series of panels (a "string") together and converting all their DC power in one centralized box. They are tough, reliable, and cost-effective, making them the go-to for big, wide-open roofs with no shade.
- Microinverters: This is a totally different approach. A small "micro" inverter is attached to the back of every single panel. This means each panel works independently, so a bit of shade or a dirty panel won't drag down the performance of the whole system. They're the premium choice for complicated roofs or any site with shading issues.
- Power Optimizers: This is the hybrid option, giving you the best of both worlds. Like microinverters, a small optimizer is attached to each panel to manage its output individually. But instead of converting the power right there, they "condition" the DC electricity and send it to a single, central string inverter to finish the job. You get panel-level optimization without the full cost of a microinverter system.
Choosing the Right Inverter for the Job
The "best" inverter technology is entirely dependent on the project. What works for a massive, utility-scale solar farm is completely wrong for a residential installer dealing with a roof full of vents, dormers, and a big oak tree in the yard.
If you want to dig deeper into specific models and what they can do, you can explore our analysis of General Electric solar inverters, which breaks down features for both residential and commercial jobs.
For Installers & EPCs: Always run a proper shade analysis. For a simple, sunny roof, a classic string inverter from a trusted name like Fronius is a rock-solid, budget-friendly option. But the second you see shadows from trees, chimneys, or weird roof angles, you need panel-level optimization from microinverters or power optimizers. It's not negotiable if you want to avoid crippling energy loss.
Advanced Inverters and Grid Compliance
Today's inverters are much more than simple power converters. Modern hybrid inverters, like the ones from Sungrow, are built from the ground up to work with battery storage. They become the central command hub, intelligently directing energy between the solar panels, the battery, the house, and the grid.
Compliance is another area where pros can't afford to cut corners. Any inverter tied to the grid must meet strict safety and performance codes, especially UL 1741. This certification is your guarantee that the inverter will operate safely and—crucially—shut down instantly during a blackout to keep utility workers safe. For any professional, verifying UL 1741 compliance is a non-negotiable step to ensure the system passes inspection and gets permission to operate.
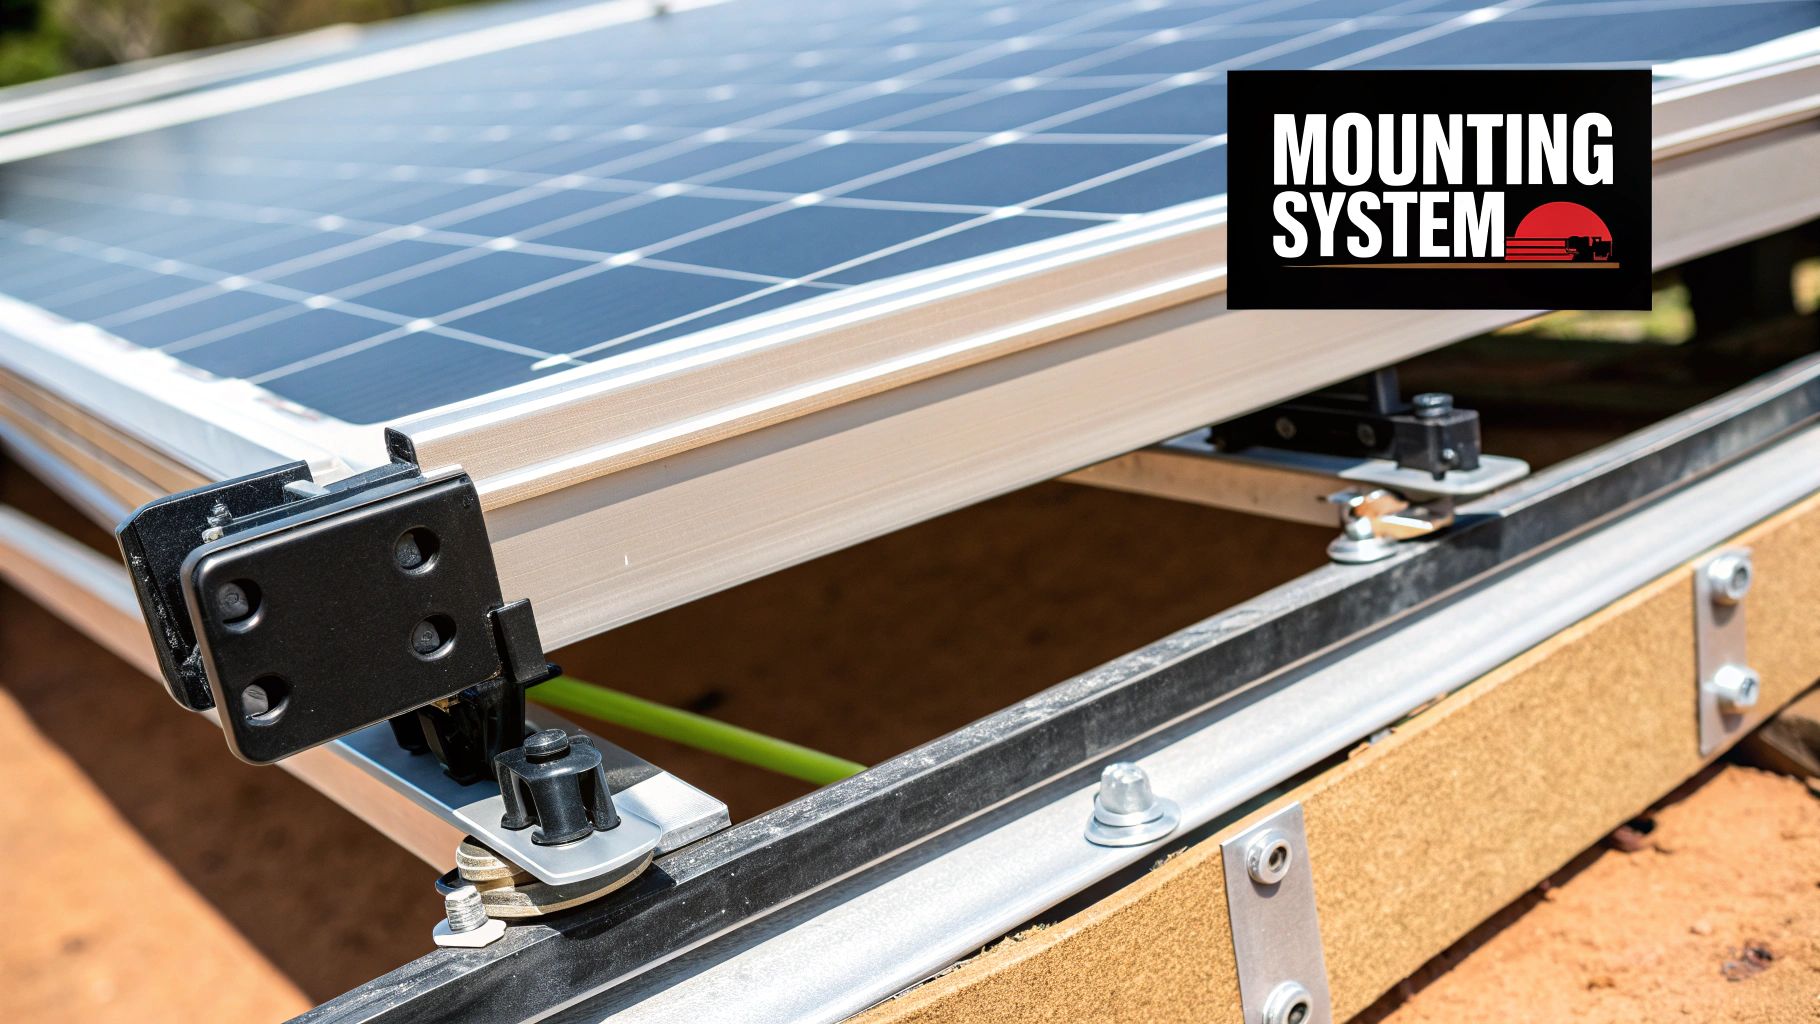
Racking and Mounting: The Unsung Hero of Solar
A premium solar array is only as solid as its foundation. While panels and inverters usually steal the spotlight, racking and mounting systems are the true unsung heroes of any solar project. This is the structural backbone that physically secures your panels to a roof or the ground, protecting a multi-decade investment from whatever nature throws at it.
Don't mistake this for a simple set of metal rails. A good racking system is an engineered solution built to endure decades of wind, rain, snow, and brutal temperature swings. For installers and EPCs, the choice of racking is a make-or-break decision that directly affects installation speed, long-term system health, and the overall bankability of a project.
Key Types of Racking Solutions
Mounting systems are anything but one-size-fits-all. They’re designed for specific jobs, whether that’s a sloped residential roof, a massive flat commercial building, or an open field. Each type comes with its own unique engineering challenges and advantages.
-
Roof-Mounted Systems: This is what you’ll see on most homes and businesses.
- Flush Mounts: These systems run parallel to the roof, creating a sleek, low-profile look that many homeowners prefer. They bolt directly into the roof rafters, creating an incredibly strong connection.
- Ballasted Mounts: The go-to solution for flat or low-slope roofs where you can't—or don't want to—put holes in the roof membrane. These systems use heavy concrete blocks to weigh the array down, relying on sheer mass and friction to fight wind uplift.
-
Ground-Mounted Systems: When a roof isn't an option due to space, shading, or orientation, ground mounts step in as a powerful alternative.
- Standard Ground Mounts: These are fixed-tilt systems anchored into the earth with concrete footings or driven steel posts. They let you lock in the perfect tilt and angle for maximum solar production all year long.
- Pole Mounts: Think of a single, heavy-duty steel pole holding up a small array. It's a great way to get the panels up and over any ground-level obstructions like shrubs or equipment.
- Trackers: The high-performance option. These smart systems actually follow the sun’s path across the sky from dawn till dusk. The payoff? A significant boost in energy harvest, often by 25% or more compared to a fixed system.
Engineering and Compliance for Professionals
For professional installers, choosing a racking system is far more involved than just picking a brand off the shelf. It requires serious engineering to guarantee the system is safe, durable, and fully compliant with local codes.
Compliance Watchout: Underestimating environmental loads is a rookie mistake that can lead to catastrophic failure. Every single racking system must be engineered to handle the maximum wind and snow loads for its specific location, as laid out by building codes and standards like ASCE 7. Getting this wrong can lead to system destruction, property damage, and massive liability.
Here’s what pros need to lock down on every project:
- Structural Analysis: First, confirm the roof or ground can actually handle the weight of the array plus the powerful forces of wind and snow.
- Material Selection: This is a choice between corrosion-resistant aluminum and high-strength galvanized steel, depending on the site’s environmental conditions and load demands.
- Code Compliance: Every part and every step of the installation must be in strict accordance with the National Electrical Code (NEC) and any local AHJ (Authority Having Jurisdiction) requirements.
At the end of the day, the right racking system does more than just hold up the panels. It’s a performance-enhancing component that positions the array perfectly to soak up every last ray of sunlight, directly impacting the system's final energy output and financial return.
Energy Storage and Balance of System Components
A solar array is great, but its real magic is unlocked when you can store that power and use it anytime. That’s where energy storage and the often-unsung heroes—the Balance of System (BOS) components—come in. They’re what turn a simple power-generating rig into a full-fledged, resilient energy solution.
Energy storage, usually a battery bank, is your ticket to true energy independence. It lets you capture all that excess solar energy you generate during peak sun hours and save it for later. Whether it's for nighttime use or, more importantly, keeping the lights on during a grid outage, storage is the key. For a homeowner, that's peace of mind during a storm; for a business, it's the difference between shutting down and staying open.
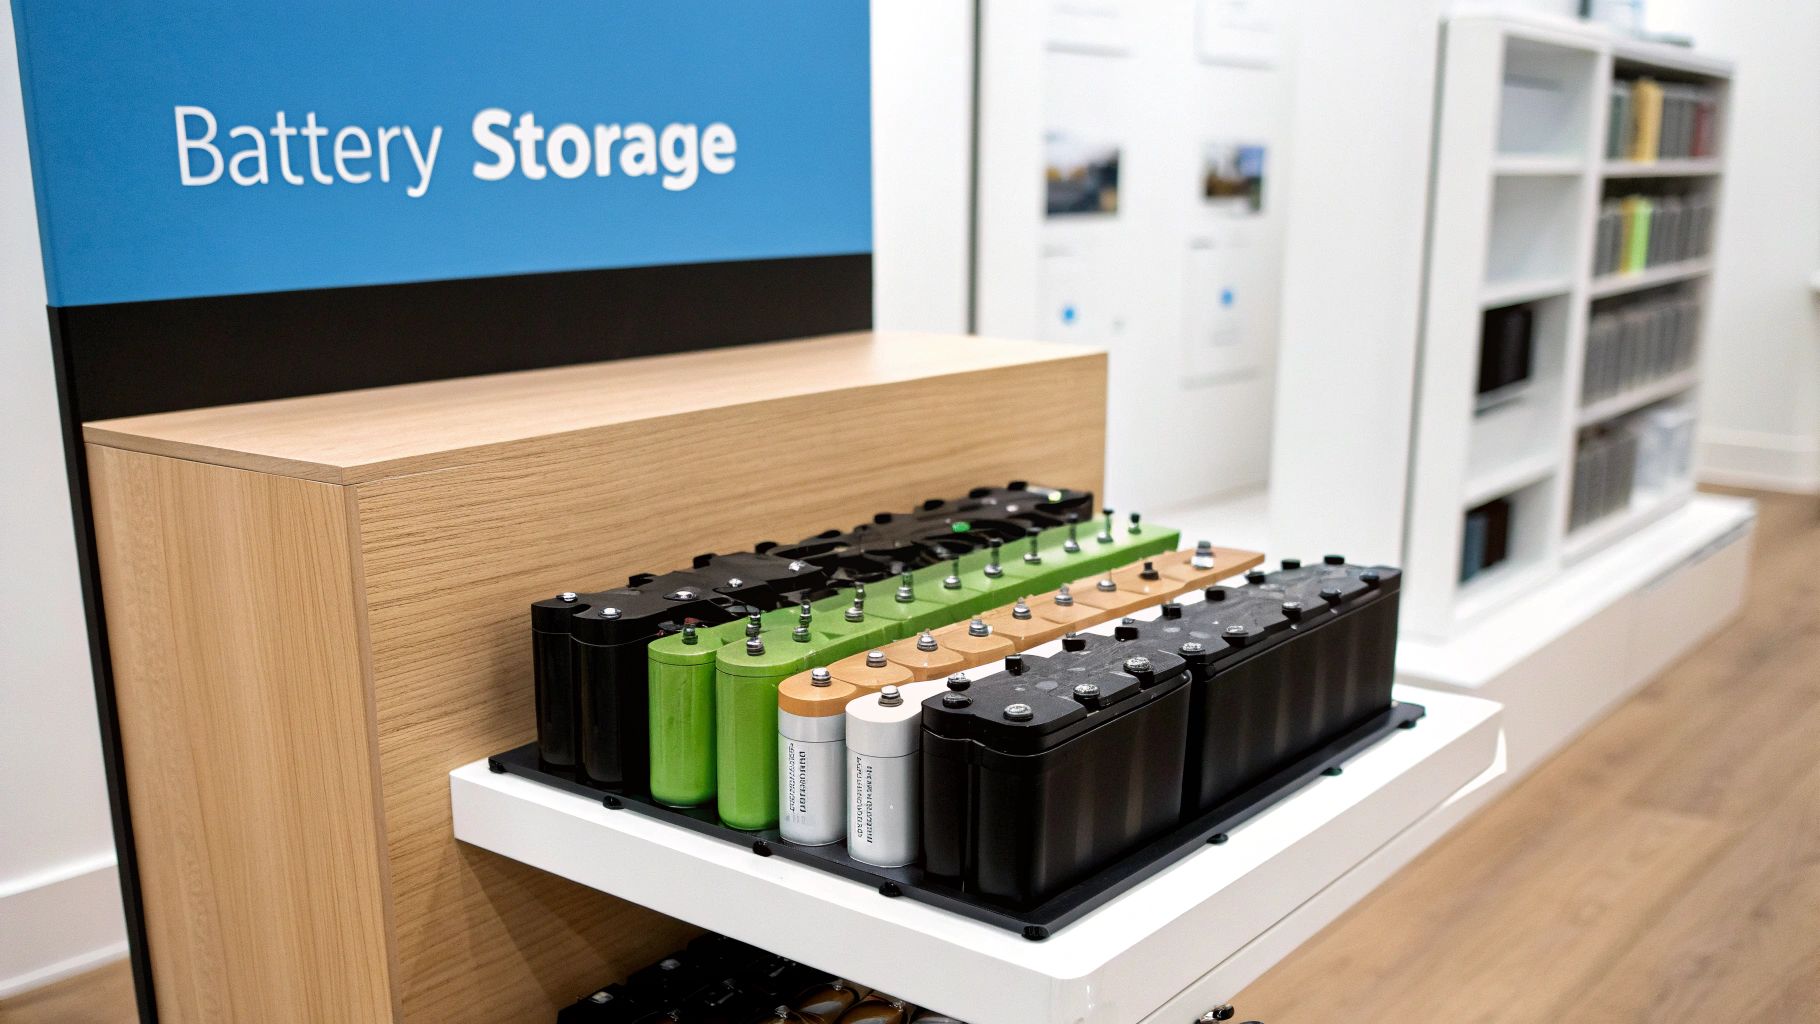
The Role of Battery Storage
Forget the old-school, clunky lead-acid batteries of the past. Today's solar storage market is all about advanced Lithium-Ion chemistries. They pack more power into a smaller space, last way longer, and let you use more of their stored energy without causing damage.
When you're looking at batteries, it pays to know the tech inside. Digging into the LiFePO4 battery pros and cons will show you why it’s a popular choice. Top-tier brands like FranklinWH and BYD are leading the way with incredibly reliable Lithium Iron Phosphate (LFP) batteries, which are celebrated for their superior safety and incredible longevity.
For any pro speccing out a system, there are three numbers on the battery spec sheet that matter most:
- Capacity (kWh): This is the battery’s fuel tank, measured in kilowatt-hours. It has to be sized right to cover what your client needs to run when the grid is down.
- Depth of Discharge (DoD): This tells you how much of the battery's capacity you can safely use. A higher DoD—often 90% or more—means you get more usable energy out of the same size battery.
- Warranty: Don't just glance at the years. A good warranty covers a time period (usually 10 years) and a set number of cycles or total energy throughput, which is a much better measure of its expected lifespan.
Understanding Balance of System Components
If batteries are about resilience, the Balance of System (BOS) components are all about safety, integrity, and just making the whole thing work. This is the collection of wires, fuses, disconnects, and enclosures that connect every part of your solar installation. They ensure power flows where it should—safely—and that the entire system is up to National Electrical Code (NEC) standards.
Think of BOS as the veins, arteries, and nervous system of your solar project. They aren't optional extras you can skimp on; they are non-negotiable elements that every professional installer has to get perfect. Cutting corners here is a fast track to failed inspections, fried equipment, or far worse.
Critical BOS Components You Must Know
While the full list of BOS parts can be long, a few core components are the absolute linchpins of every single project.
Pro Tip for Installers: Never cut corners on BOS parts. Using properly rated wiring, certified disconnects, and correctly sized fuses is what separates a system that runs for 25 years from one that becomes a fire hazard. Your reputation—and your liability—are on the line.
Here are the must-haves for every job:
- Wiring and Conduit: You can't just use any wire. Specialized PV wire is designed to handle high DC voltages and harsh weather. It absolutely must be protected inside a conduit to shield it from physical damage and the elements.
- Junction and Combiner Boxes: These are simple enclosures that protect crucial wiring connections. In any system with multiple strings of panels, a combiner box neatly and safely merges their outputs before sending a single, larger connection to the inverter.
- Fuses and Circuit Breakers: These are your critical safety valves. As overcurrent protection devices, they automatically sever a circuit if the current spikes, preventing fires and protecting thousands of dollars in equipment.
- AC and DC Disconnects: These are the big red switches. They give technicians—and firefighters—a way to manually and safely kill the power to the system for maintenance or emergencies. An accessible disconnect is a hard requirement by the NEC and every utility company.
Ultimately, mastering the integration of these solar components is what makes a successful installation. For a deeper dive, our comprehensive guide on designing effective solar energy solutions shows how to bring all these parts together for maximum performance and safety.
Putting It All Together for Optimal Performance
Knowing the individual parts of a solar energy system is just the start. The real magic—and the real challenge for installers—is getting them to work in harmony. A solar project isn't just a pile of hardware; it’s a finely tuned machine where one component choice sends ripples across the entire design.
This big-picture view is non-negotiable. For instance, you might decide to upgrade to a high-efficiency N-type solar panel. Great choice. But that one decision instantly changes the game for your inverter sizing, the specific racking needed for that module’s dimensions, and even the thickness of your DC wiring.
Get the combination wrong, and you're looking at performance bottlenecks, serious safety hazards, and a project that never lives up to its financial promise. The goal is to build a system where every part supports the next, squeezing every possible watt out of the sun and running reliably for decades.
The Component Interdependency Checklist
Before you ever think about finalizing a Bill of Materials (BOM), you have to run a full compatibility check. Think of it as a pilot’s pre-flight inspection—it’s what stops you from making a costly mistake. This isn’t just about ticking boxes; it's about ensuring the whole system is far greater than the sum of its parts.
Here’s a practical, no-fluff checklist to make sure your components play well together:
- Panel and Inverter Sizing: Does your inverter’s DC input voltage and current limit match up with your solar panel strings? A mismatch here is a classic rookie mistake that leads to "clipping" (wasted energy) or, even worse, fried equipment.
- Inverter and Battery Protocol: Are the hybrid inverter and the battery built to talk to each other? If they don’t have compatible communication protocols, you’ve just installed a very expensive, very dumb box that won't charge or discharge properly.
- Racking and Module Load: Is your racking actually engineered for the local wind and snow loads? More importantly, do the mounting holes on the panels actually line up with the rails? It sounds basic, but you'd be surprised.
- BOS and System Capacity: Are the wires, fuses, and disconnects all properly rated for the system’s maximum voltage and amperage? Skimping on your Balance of System components is the fastest way to fail an inspection and create a major fire hazard.
Expert Tip for System Designers: Always over-spec your wiring and breakers, but never your inverter. Nailing the inverter-to-solar ratio (the DC-to-AC ratio) is the key. We typically see the sweet spot right around 1.15 to 1.25 to maximize your energy harvest without pushing the equipment past its limits.
Finalizing a Resilient and Profitable System
At the end of the day, integrating solar energy system components is all about building a safe, tough, and profitable asset. Every single choice, right down to the brand of the inverter and the type of racking clamp you use, adds up over the system's 25-year life.
For commercial EPCs and residential installers, this is where you earn your reputation. Proving you have this level of technical mastery is what separates the pros from the amateurs. It’s how you build trust and ensure the project you deliver actually hits the numbers you promised. A well-designed system doesn't just produce more power—it breaks down less, which is a direct boost to the project's ROI.
Common Questions About Solar System Components
When you get down to the nuts and bolts of a solar project, a lot of questions come up. Whether you're an installer, an EPC, or a homeowner trying to make sense of a quote, getting straight answers is the only way to make good decisions. We hear these questions all the time, so let's clear them up.
What Is the Most Important Component in a Solar Energy System
Everyone sees the solar panels, but the real MVP of the system is the inverter. I like to call it the brain and the heart of the operation, all rolled into one.
The inverter does the heavy lifting: it converts the DC power from the panels into usable AC power for a home or the grid, manages how the system talks to the utility, and squeezes every last watt out of each panel. If your inverter goes down, the whole system stops working. That’s why its quality and reliability are non-negotiable for a successful project.
How Long Do Different Solar Components Last
Modern solar gear is built to last, but everything has a shelf life. Knowing these timelines is key for figuring out the real long-term return on investment and managing your client's expectations.
- Solar Panels: These are the marathon runners. Most Tier 1 manufacturers offer a 25-year performance warranty. That’s a guarantee they’ll still be cranking out a high percentage of their original power after two and a half decades in the sun.
- Inverters: These are sophisticated electronics, so they have a shorter lifespan. A good string inverter usually comes with a 10-15 year warranty. Microinverters, on the other hand, often match the panels with 25-year warranties.
- Racking Systems: Made from tough stuff like aluminum or steel, a well-installed racking system will easily outlive the panels it’s holding up. We're talking decades.
- Battery Storage: A battery's lifespan really depends on its chemistry and how it’s used day-to-day. Most of the modern lithium-ion batteries from brands like FranklinWH or BYD come with a 10-year warranty or are rated for a set number of charge cycles.
Do All Solar Energy Systems Need Batteries
No, not all systems require batteries. The decision depends entirely on the project's goals.
A standard grid-tied system works perfectly fine without one. It uses the utility grid as a giant, shared battery—sending extra power back for credit and pulling from it at night.
But batteries become absolutely essential in a few key scenarios:
- Off-Grid Systems: If you're not connected to the utility, there’s no debate. You need batteries to store power for nighttime and cloudy days.
- Backup Power: For anyone who can't afford to be without power during a blackout, a battery is the only way to keep the lights on and the essentials running.
- Energy Self-Consumption: If the goal is to use as much of your own solar power as possible and buy less from the utility, a battery is the answer. It stores all that free energy you generate during the day so you can use it in the evening.
At Portlandia Electric Supply, we don't just sell components; we provide the expertise to build resilient, high-performing solar energy systems. From design to commissioning, our team has your back with in-stock inventory and nationwide logistics. Request a Bulk Quote and let's get your next project moving.