
Find Residential Solar Installation Near Me: An Installer Vetting Guide
Finding the right residential solar installation near me is more than a quick search. This guide provides a step-by-step framework for homeowners to vet and select a qualified local installer, ensuring a high-performance system and a smooth project from start to finish. The goal is to move beyond sales pitches and make a decision based on proven experience, technical competence, and long-term value.
This process begins with a quick self-assessment of your property and energy needs. This initial homework empowers you to build a targeted list of 3-5 highly reputable local companies and engage them with specific, informed questions.
Starting Your Search for Local Solar Installers
This preliminary legwork puts you in control of the conversation. You'll approach installers with a clear understanding of your home’s solar potential, allowing you to focus on project specifics rather than a generic sales presentation. This preparation also saves significant time by filtering out companies that aren’t a good fit from the outset.
Do a Quick Home Self-Assessment
This initial check requires no engineering background—just your latest utility bill and a look at your roof.
- Roof Condition and Age: How old is your roof? If you have asphalt shingles approaching 20 years of service, any reputable solar contractor will require a replacement before installation. Factoring this potential cost in from day one is critical to avoid budget-breaking surprises.
- Sunlight Exposure (Solar Access): Assess your property for shading at different times of day. Are large trees blocking your south-facing roof in the afternoon? While modern high-efficiency panels perform better in partial shade, maximizing sun exposure is essential for optimizing energy production and achieving the best return on investment (ROI).
- Utility Bill Analysis: This is a critical data point. Review several recent electricity bills to determine your average monthly kilowatt-hour (kWh) usage and your cost per kWh. This data is the foundation for accurate system sizing and savings calculations. A professional installer will require this information to build a precise, data-driven proposal.
Build Your Shortlist of Potential Installers
With your home's data in hand, it's time to identify qualified professionals. While a web search provides a starting point, finding the right experts means looking beyond paid ads to community-verified sources with a proven local track record.
Pro Tip: A common mistake is getting only one or two quotes. Aim for at least three to five. This provides a clear picture of fair market pricing, available equipment options (e.g., Sungrow vs. FranklinWH), and varying levels of service. Make qualified companies compete for your business.
Look for unfiltered feedback in local community forums like Facebook or Nextdoor. The Better Business Bureau (BBB) also offers insight into a company’s history and complaint resolution record.
To streamline this process, a contractor matching service like PowerLink connects homeowners directly with a network of pre-vetted, certified professionals, ensuring you begin with a list of qualified candidates.
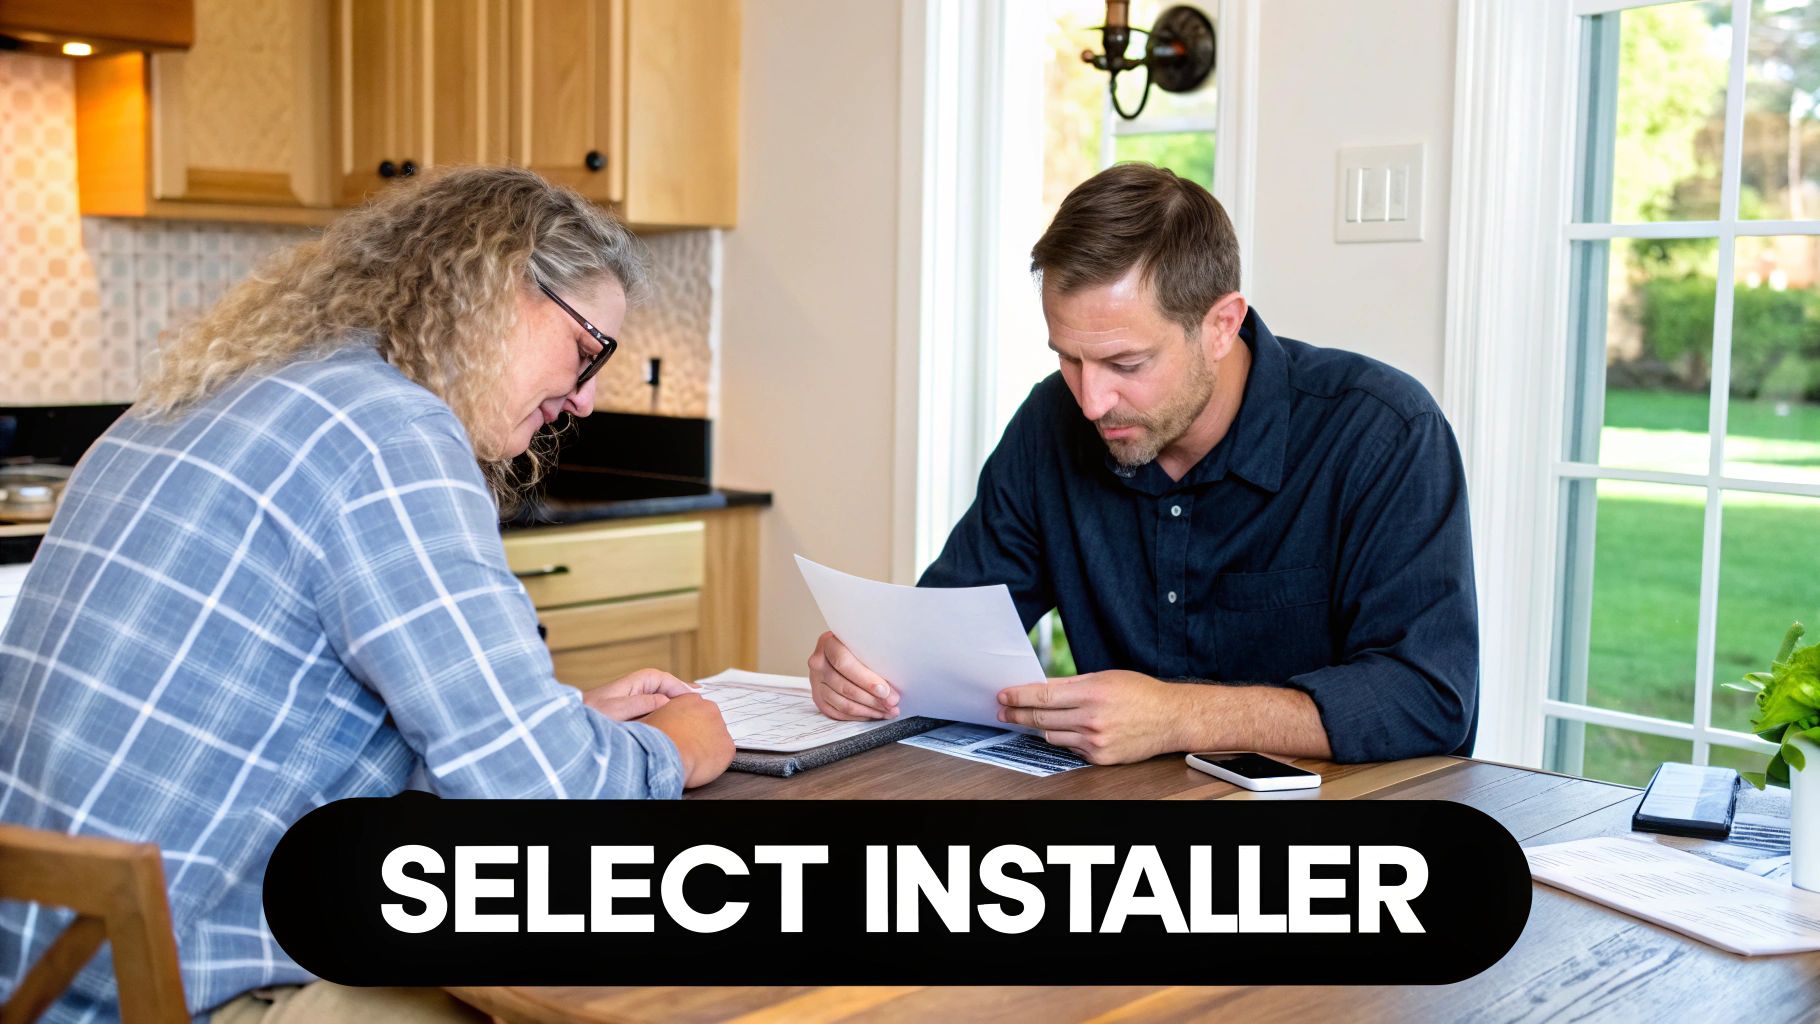
How to Properly Vet Solar Installation Companies
With a shortlist of installers, the vetting process begins. This is where you separate experienced professionals from sales-driven operations and identify a long-term partner for your energy investment. The focus should be on verifiable proof of credentials, project experience, and a commitment to quality installation that will last 25+ years.
The quality of the installation is as critical as the quality of the components. A professional installer understands this and provides complete transparency throughout the vetting process.
The Non-Negotiables: Your First-Pass Filter
Before making contact, perform a background check for these mandatory qualifications. Any serious installer will have this information readily available on their website. A lack of transparency here is a major red flag.
- State and Local Licensing: This is non-negotiable. The installer must hold all required electrical and contractor licenses for your state and municipality, ensuring they meet minimum safety and code standards.
- Proof of Insurance: Verify both general liability and workers' compensation insurance. This protects you from any liability in the event of an accident on your property during installation.
- NABCEP Certification: The North American Board of Certified Energy Practitioners (NABCEP) certification is the gold standard in the U.S. solar industry. While not always legally mandated, having a NABCEP-certified professional on staff demonstrates a commitment to the highest technical standards and best practices.
Asking the Right Questions to Cut Through the Noise
Once you've verified the basics, it's time to engage with the companies. The objective is to assess their expertise, process, and business practices, not just to collect quotes.
Critical Mistake: Focusing solely on the cost per watt. While important, an installer's hands-on experience with your specific utility company and local permitting office is invaluable. This local knowledge can be the difference between a smooth project and one delayed for months by bureaucratic hurdles.
Prepare a consistent list of questions to ask each company for a true apples-to-apples comparison.
Key Topics For Your Initial Call
Pay close attention to the confidence and clarity of their answers. Direct, knowledgeable responses are a sign of experience.
Here are the essential topics to cover:
- Local Track Record: How many installations have you completed in my city or utility service area? Can you provide local customer references?
- Equipment & Brands: Which solar panel and inverter brands do you install (e.g., Sungrow, FranklinWH, Fronius), and why? A professional will justify their recommendations based on performance, reliability, and warranty support. For more details, consult our guide to the best solar panel brands.
- Warranty Clarity: Differentiate between the manufacturer's equipment warranty and the installer's workmanship warranty. A strong workmanship warranty (10 years or more) is a key indicator that they stand behind the quality of their installation.
- Post-Installation Support: What is the process if the system underperforms or requires service after commissioning? Who is the direct point of contact?
Use this checklist to organize your notes and compare installers objectively.
Solar Installer Vetting Checklist
| Evaluation Criteria | Installer A | Installer B | Installer C |
|---|---|---|---|
| State/Local Licenses Verified | |||
| Proof of Insurance Provided | |||
| NABCEP Certified Staff | |||
| Years in Business | |||
| Local Installations (#) | |||
| Workmanship Warranty (Years) | |||
| Main Panel/Inverter Brands | |||
| Local References Available | |||
| Post-Installation Support Plan | |||
| Overall Impression |
This methodical process ensures you are not just buying solar panels, but selecting a trusted partner committed to supporting your investment for decades.
Decoding Your Solar Quotes and Proposals
Once the proposals arrive, you must analyze the technical specifications, financial projections, and equipment details to compare what truly matters. A quality proposal is a detailed blueprint for your home's energy future, not just a price tag.
It should clearly define the system size, specify the exact equipment to be used, and provide a realistic, data-backed projection of its annual energy output.
Understanding the Core Numbers
Every quote is built on a few critical metrics. Understanding these is essential for making an informed decision.
- System Size (kW): This is the system's peak power capacity, measured in kilowatts (kW). The correct size is not simply the largest system that fits on your roof; it is tailored specifically to your annual energy consumption.
- Estimated Annual Production (kWh): This figure, measured in kilowatt-hours (kWh), predicts the total electricity your system will generate in a year. It is the most direct indicator of your future utility bill savings.
- Cost Per Watt ($/W): This metric normalizes pricing for an apples-to-apples comparison. Calculate it by dividing the total gross system cost by its size in watts (kW x 1,000). For example, a $25,000 8kW system costs $3.12 per watt. This calculation reveals the true value beyond the bottom-line price.
Comparing Financing and Ownership Models
The financing method you choose has a significant impact on your long-term ROI. Installers typically present several options.
Hidden Cost: Fixating on the lowest monthly payment is a common mistake. While a solar lease or PPA may offer a low upfront cost, direct ownership via a cash purchase or solar loan almost always delivers superior long-term financial returns by allowing you to claim tax credits and own the asset.
Here is a breakdown of the primary ownership models:
- Cash Purchase: Paying upfront provides the maximum ROI. You own the system outright from day one with no interest payments.
- Solar Loan: This allows you to finance the system while retaining ownership and all associated tax benefits. You will have a fixed monthly loan payment.
- Solar Lease: You pay a fixed monthly fee to a third party that owns and maintains the system on your roof. You benefit from lower electricity costs but do not own the asset or receive the tax credits.
- Power Purchase Agreement (PPA): Similar to a lease, a third party owns the system, and you agree to purchase the power it generates at a predetermined rate lower than your utility's. You do not own the system.
Consider how your solar system integrates with your broader home energy strategy. As detailed in this smart home energy management guide, combining solar with smart technology can maximize the value of every kilowatt-hour generated. By thoroughly analyzing both the technical and financial details of each quote, you can identify the proposal offering the best long-term value.
Navigating Solar Permits, Incentives, and Utility Paperwork
This phase is where an experienced local installer provides immense value. The complex, behind-the-scenes administrative process is what makes your system legal, profitable, and connected to the grid. A professional installer manages this entire workflow on your behalf.
Your project must satisfy two key entities: your local building department (AHJ - Authority Having Jurisdiction) and your electric utility. Each has its own set of regulations, forms, and timelines. An installer with deep local experience has navigated this process hundreds of times and knows how to avoid common pitfalls that can delay projects for weeks or months.
The Permitting and Interconnection Journey
Before installation begins, your installer submits detailed engineering plans to your city or county to secure a building permit. This ensures the system design is safe and compliant with all local structural and electrical codes, including the National Electrical Code (NEC).
Simultaneously, they submit an interconnection application to your utility. This application is the formal request to connect your system to the grid and establishes the terms for net metering—the policy that credits you for surplus energy you export. Without this agreement, you receive no financial benefit for your excess generation.
Compliance Watchout: Incomplete or inaccurate permit and interconnection applications are a primary cause of project delays. A top-tier installer gets this critical paperwork right the first time, ensuring a smooth approval process.
Unlocking Your Financial Incentives
Maximizing your ROI requires claiming all available financial incentives. The most significant is the 30% federal solar tax credit, a direct, dollar-for-dollar reduction of your federal tax liability.
In addition, many states and local utilities offer their own rebates, grants, and performance-based incentives. Programs from authorities like NYSERDA in New York or state-specific incentives in California and Florida can further reduce your net cost. Despite market fluctuations, these incentives continue to drive growth, with the U.S. residential solar market adding 1,106 MWdc of capacity in Q1 2025, according to the latest SEIA/Wood Mackenzie Solar Market Insight Report.
For example, homeowners in Florida should understand the specific local programs available. Our guide on solar power incentives in Florida provides a detailed breakdown.
Your installer must be an expert on these programs and manage all applications to ensure you capture every available dollar. This comprehensive management of permits, utility interconnection, and incentives is a key differentiator of a great installer.
What to Expect During the Installation Process
After signing the contract, your solar project moves from planning to execution. A professional installation is a well-managed, multi-stage process designed for safety, efficiency, and code compliance. Understanding these milestones helps you track progress from start to finish.
The entire sequence, from final design to grid connection, is a structured workflow. This infographic outlines the typical project journey for a residential solar installation.
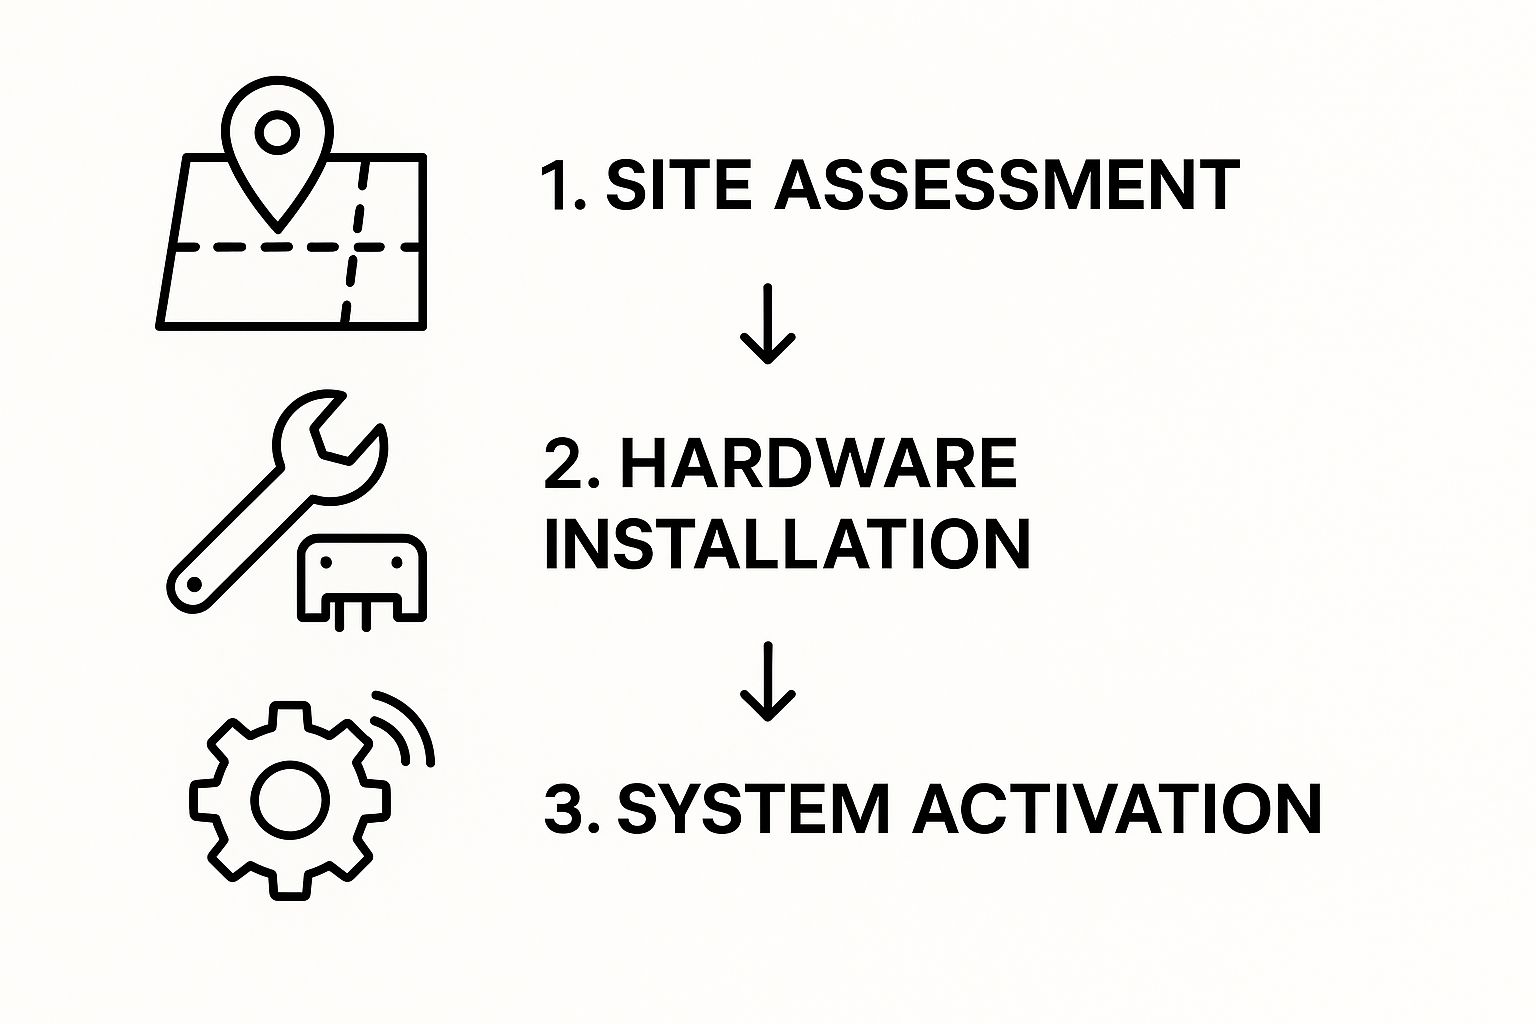
The physical work on your roof is a key part of a larger process involving critical planning and administrative steps.
Final Design and On-Site Survey
Before equipment is ordered, the installation team conducts a final on-site technical survey. A technician will typically need access to your roof and attic to verify rafter spacing, structural integrity, and electrical service details. This step ensures the engineering plans perfectly align with your home's real-world conditions, locking in the final blueprint for the installation crew.
The Physical Installation
This is the most visible phase of the project, typically taking only one to three days. The installation crew follows a precise sequence:
- Racking Installation: The crew begins by installing the mounting system. This involves securing stanchions into your roof rafters and attaching the rails that will hold the solar panels. Proper flashing and sealing at every roof penetration are critical to ensure 100% weatherproofing.
- Panel and Inverter Mounting: The crew then mounts the solar panels onto the racking system. The inverter—the device that converts DC electricity from the panels to AC electricity for your home—is typically installed near your main electrical panel.
- Electrical Wiring: Certified electricians run conduit and wiring from the solar array to the inverter and from the inverter to your home’s main service panel. All electrical work is performed in strict accordance with National Electrical Code (NEC) standards.
Expert Tip: The crew’s professionalism, site cleanliness, and adherence to safety protocols reflect the quality of the company you hired. A top-tier team works efficiently, respects your property, and prioritizes safety throughout the installation.
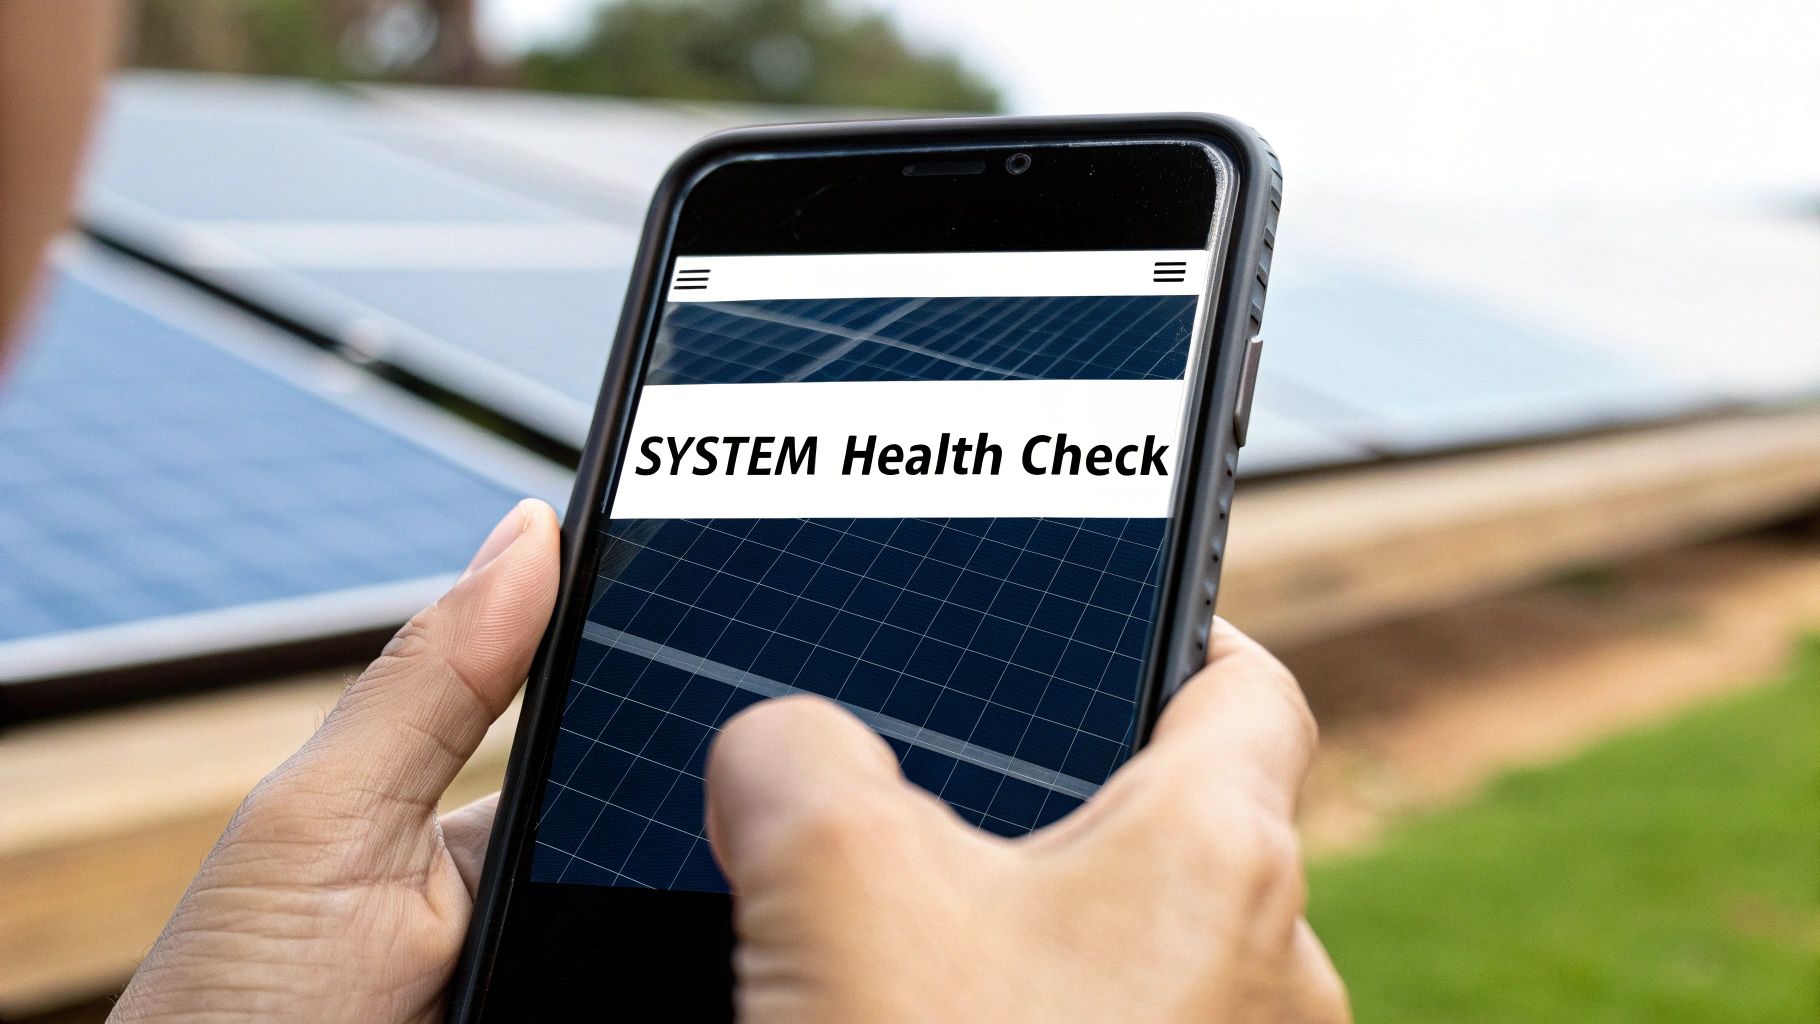
Inspection and Commissioning
After the installation crew completes their work, the system is not yet operational. First, an inspector from your local building department must conduct a thorough review to verify that the installation meets all safety and code requirements. For a detailed look at this process, see our complete solar panel installation guide.
Once the system passes inspection, the final step is receiving Permission to Operate (PTO) from your utility company. They may perform their own final check or install a new bidirectional meter. You can only energize your system after receiving this official PTO notification, which marks the official start of your clean energy production.
Answering Your Top Solar Installer Questions
As you near a final decision, several key questions often arise. Getting clear, confident answers is the final step before moving forward. Think of this as establishing a long-term partnership for your home's energy future.
Let's address the most common concerns homeowners have at this stage.
How Many Solar Quotes Should I Get Before Deciding?
The industry best practice is to obtain a minimum of three quotes from different, well-vetted installers. This provides the necessary perspective to compare not just price, but also equipment quality, warranty terms, and the professionalism of each company. It also serves as a safeguard against inflated pricing and helps you identify lowball offers that may indicate substandard equipment or hidden costs.
What Are the Most Important Qualities in a Solar Company?
Beyond sales presentations, the three most critical attributes are: proven local experience, verifiable credentials, and complete transparency.
An installer with a deep portfolio of local projects possesses invaluable knowledge of your specific jurisdiction's permitting process and your utility's interconnection requirements. Credentials such as state licensing, full insurance, and NABCEP certification are non-negotiable indicators of technical competence. Finally, a trustworthy partner operates with full transparency in their proposals, contracts, and communication, answering all questions directly.
Compliance Watchout: Company stability is a crucial but often overlooked factor. An installer going out of business can void your workmanship warranty and leave you without support. Choosing an established company with a strong financial history mitigates this long-term risk.
How Long Does the Entire Solar Process Take?
From contract signing to receiving Permission to Operate (PTO) from your utility, the typical timeline is one to four months.
The physical on-site installation is the fastest part, usually lasting only one to three days. The majority of the timeline is consumed by administrative processes: detailed system design, securing building permits, and waiting for the final utility approval after the system passes inspection.
At Portlandia Electric Supply, we connect homeowners with pre-vetted, expert installers and supply the Tier 1 equipment required for a successful project. Let us help you find the right professional for your residential solar installation. Explore our PowerLink network and get started today.